.png)
.png)


 (Custom).png)
.png)

How to set up your brand new PC
From all of us at Chillblast, we want to wish you a warm welcome to the Chillblast Community
We’re sure that you want to get your shiny new PC unwrapped and plugged in as soon as possible, so we’ve put together this easy to follow guide that will get you set up stress-free
We're a collective of amazing people striving to build impeccable PCs
From all of us at Chillblast, we want to wish you a warm welcome to the Chillblast Community.
Here you will find a range of useful information that will guide you through your initial PC setup, plus troubleshooting tips should you run into any issues.
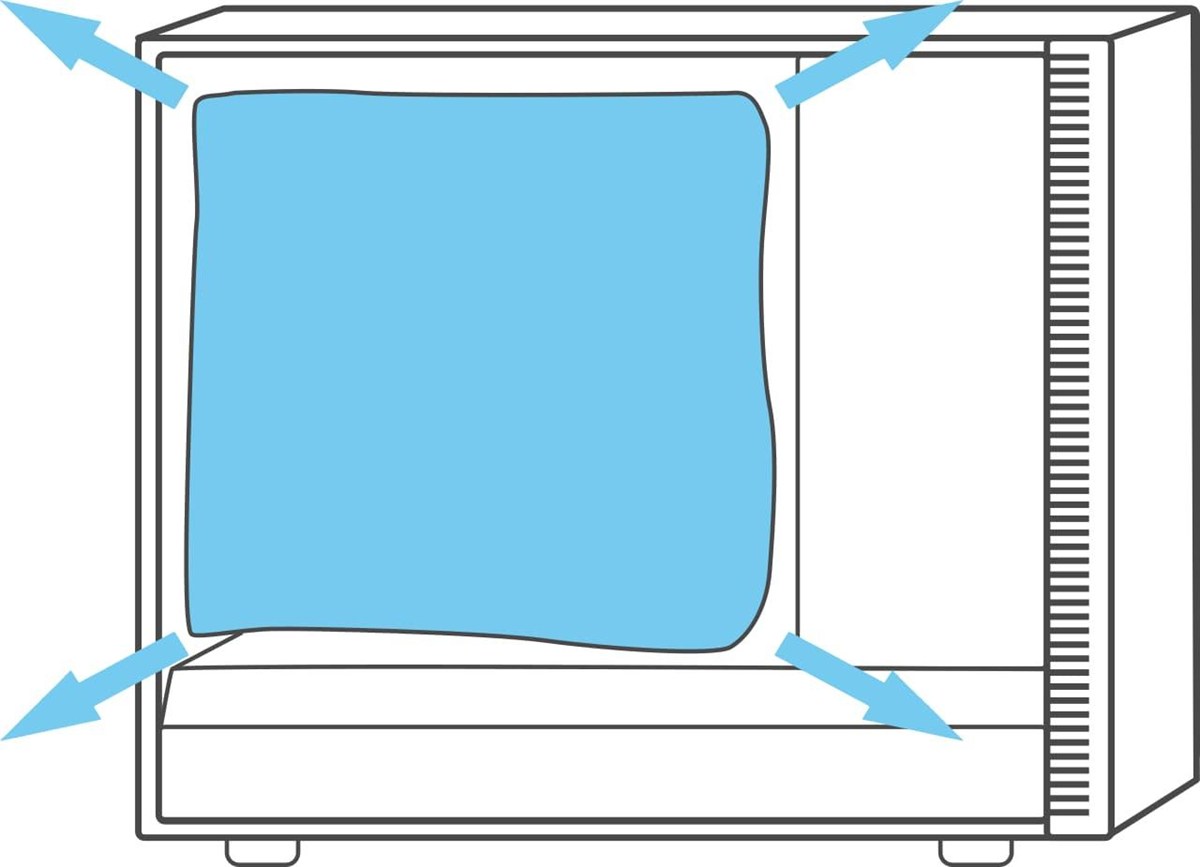
1: Remove internal packaging
To keep our systems as safe as possible during transit, we offer special self-expanding foam padding when you purchase. If you selected this during the checkout process, you will need to remove this material before your system is turned on for the first time.
To do so, gently wiggle it free with even pressure, making sure not to pull too harshly in one direction as this could dislodge or damage the components inside.
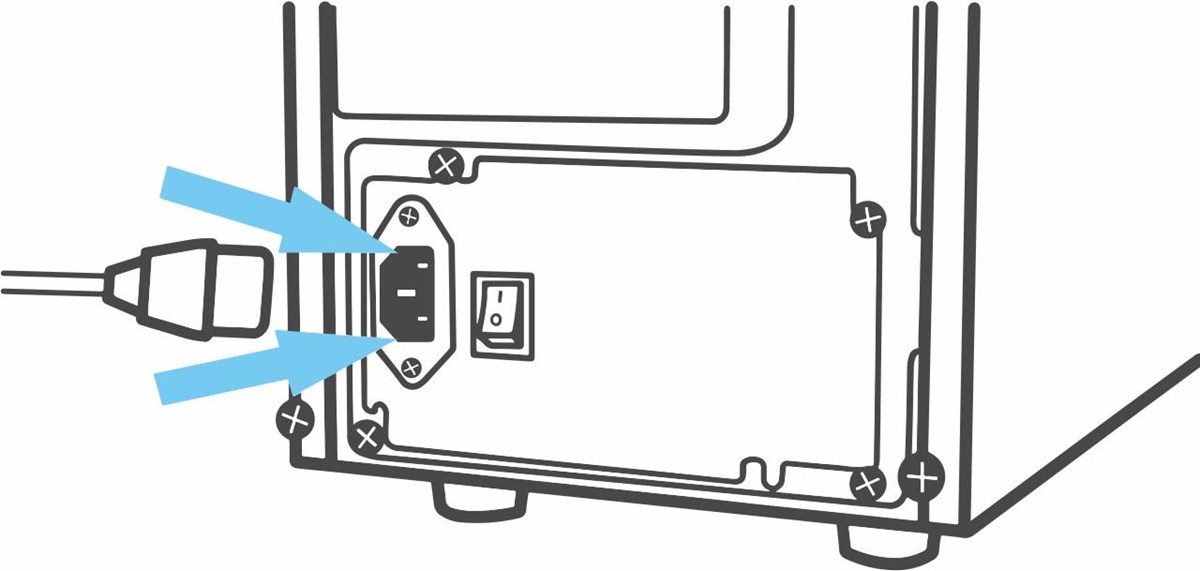
2: Plug in the power cable
Once the PC is free from its packaging, locate the power cable supplied and plug each end into its correct socket; one in the PC and one in the wall. Make sure that the cable is fully inserted and flush against the PC.
Next, flip the power switch located at the back of the PC into the ‘on’ position.
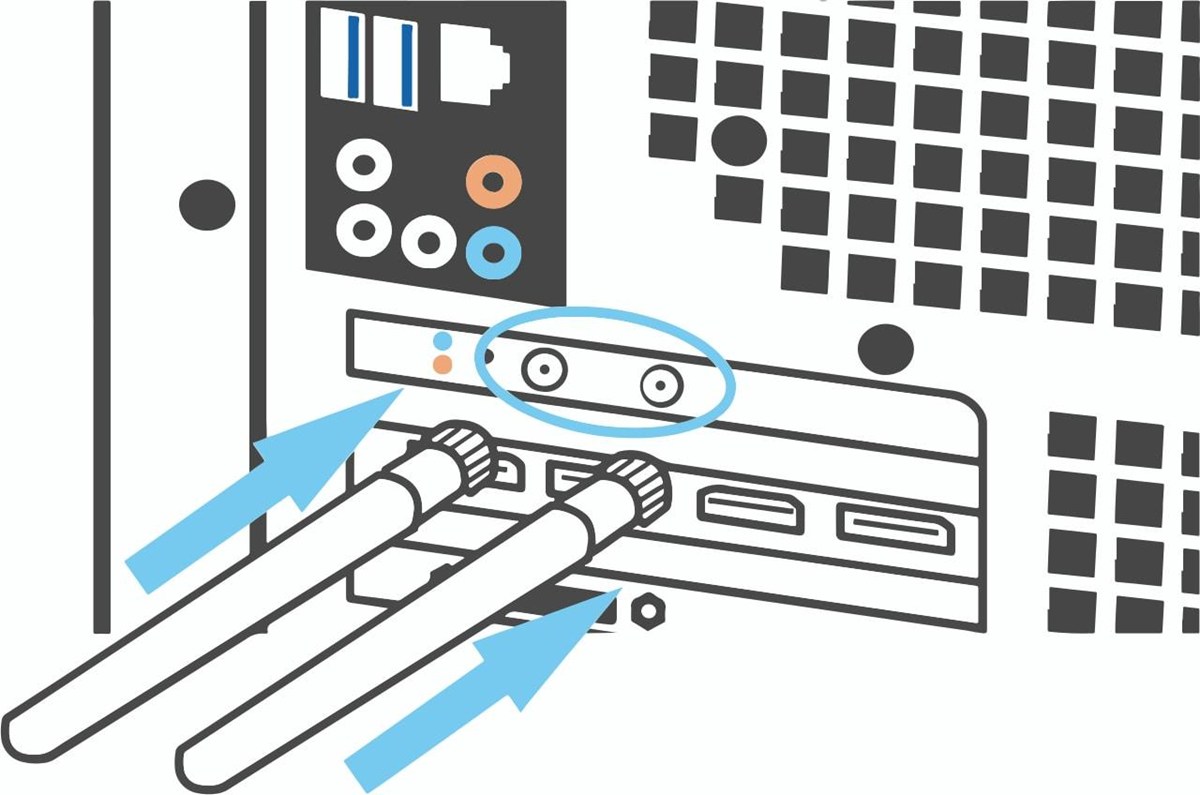
3: Connect WiFi aerials
If you ordered your computer with WiFi you will need to connect the aerials. You can find them inside the small box supplied with your PC. If your PC has a wifi card, you will find the ports at the back of the case near the bottom. But if your motherboard comes with integrated wifi, you will find the ports nearer the top where the USB ports are located.
Once you have located the ports, simply plug in the aerials and screw them tight.
Important: Wifi is an optional extra on the majority of desktops; if you did not specifically choose this when ordering but you need to connect to a wifi network you can still use a USB wifi dongle (purchased separately).
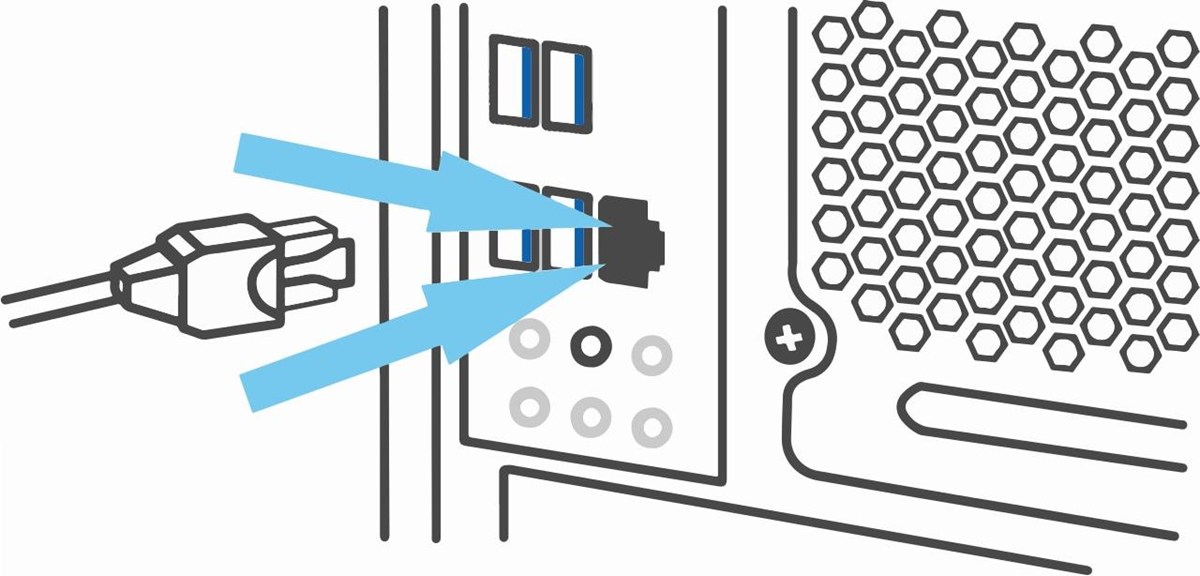
4: Connect an ethernet cable
If your system doesn’t have a WiFi connection you can still connect to the Internet by plugging in an Ethernet Cable into the Ethernet socket located on the back of the computer, and the other end into your modem.
(Please note that an Ethernet cable is not included with the computer.)
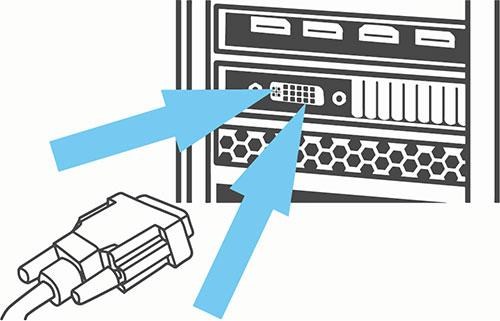
5: Connect a monitor
The next stage is to connect a monitor. Locate the connection cable and plug one end into the back of the screen, and the other into the correct port at the back of your PC.
Important: If your computer has a dedicated graphics card, ensure you connect the monitor to the output on the graphics card and not the outputs on the motherboard (close to the USB ports).
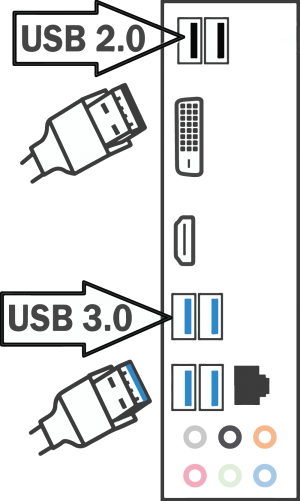
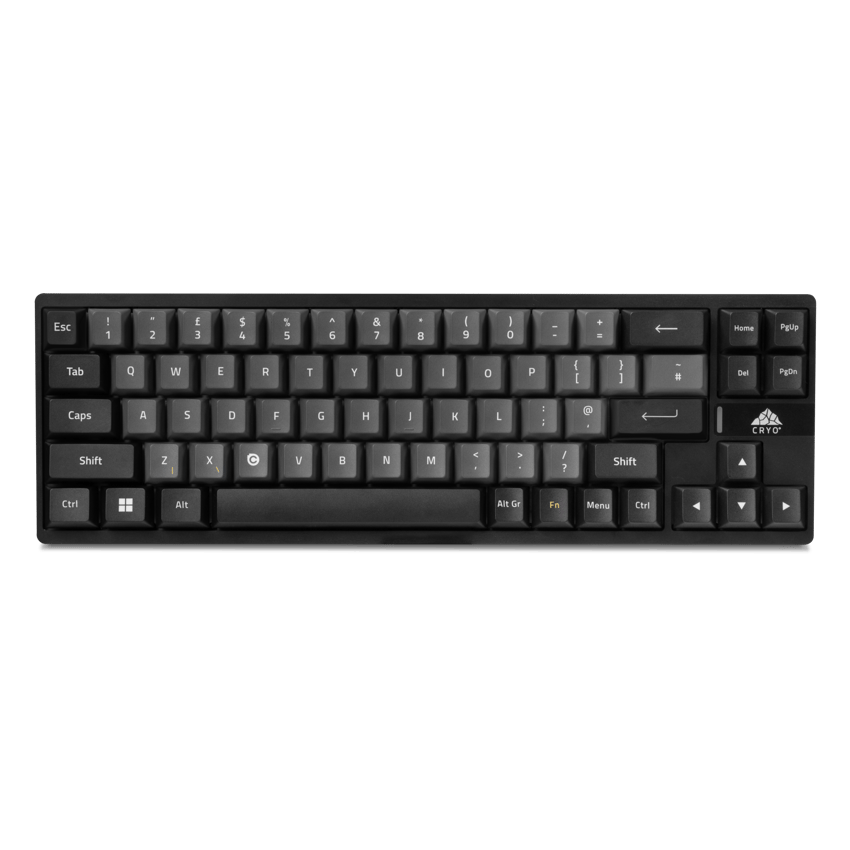
6: Connect keyboard & mouse
Now it is time to connect a keyboard and mouse. To do so, plug each cable (or Bluetooth dongle if that is what they use) into a spare USB port at the back of the PC.
Tip: Most keyboards and mice are USB 1.1 or 2.0 devices so it’s best to connect these to black coloured USB ports. The blue coloured ports are USB 3.0 ports which may not always work with keyboards and mice.
7: Turn it on
With everything you need to get started plugged in and ready to go, the final step is to turn the PC on! Press the power button on the front of your PC and watch it come to life.
What happens next?
We hope you never run into any issues with your PC. However, if you do, don’t worry.
We have an excellent team of passionate customer support staff who will take your call and find a solution to fix your PC may have, no matter how small or how long it’s been since you made your purchase.